Mastering DIY CNC Calibration with Ball Bars: A Comprehensive Guide
Calibrating your CNC machine is essential for achieving peak accuracy and performance. Among the various methodologies available, using a ball bar stands out as a highly effective technique, suitable for both hobbyists and professionals. This guide will walk you through the process of calibrating your CNC machine using a ball bar, ensuring you maximize its potential and precision.
Step-by-Step Guide to CNC Calibration
Step 1: Essential Tools for Accurate Calibration
Before diving into the calibration process, gather the necessary tools and materials:
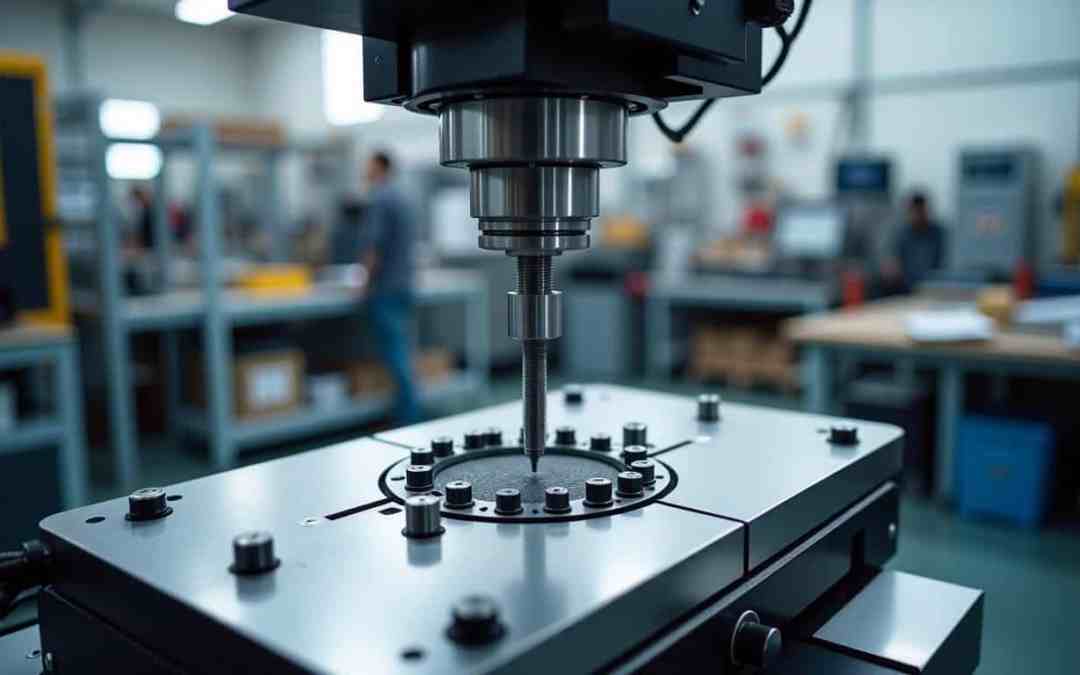
- Ball Bar: A precision device for measuring machine runout.
- Neodymium Magnets: For secure attachment of the ball bar to your machine components.
- Laser Level Webcam Technique: An optional tool for enhanced setup accuracy.
- CNC Software: Essential for logging and analyzing calibration data.
Step 2: Tackling Setup with Precision
Secure the Perfect Ball Bar Mount
Mount the ball bar to your CNC machine’s spindle using strong neodymium magnets for stable positioning. Utilize a laser level to ensure your ball bar is perfectly level.
Position for Precision
Extend the ball bar to a minimum of 0.8 meters from the spindle. Ensure horizontal positioning to minimize errors and improve accuracy.
Step 3: Preliminary Measurements for Insight
Run an Initial Test
Use CNC controls to execute simple movements like straight lines. Record discrepancies noticed in the ball bar measurement.
Analyze for Accurate Adjustment
Compare the actual path of the CNC machine with the ball bar’s measured path. Identify areas that require calibration.
Step 4: Adjust and Calibrate for Perfection
Fine-Tune Your Machine
Make adjustments based on the measurements gathered. Address mechanical design or flexure joint issues to correct any deviations.
Repeat for Consistency
Conduct multiple tests to analyze the impact of adjustments. Refine calibration until consistent accuracy is achieved.
Step 5: Documentation and Future Reference
Document your calibration settings and process. Keep these records for future reference or improvements.
Exploring Additional Resources
For further enhancement, delve into:
- Compliant Flexure Mechanisms: Gain insights for improving CNC mechanical design.
- 3D Printing Tutorials: Create bespoke fittings to enhance machine performance.
Conclusion: Transform Your CNC Machine Experience
By following these steps, you’ve successfully calibrated your CNC machine using a ball bar, enhancing accuracy and performance. This hands-on approach not only improves your machine but also deepens your understanding of its mechanics.
Call to Action: Join the CNC Community
Now that you’ve mastered calibration, test your newly optimized CNC machine. Share your experiences, seek advice, or explore advanced topics in CNC design and calibration. Join our community for more resources and inspiration. Happy machining!
Pro Tips and Considerations
Precision in Ball Bar Setup
- Ensure a secure and level attachment of the ball bar to avoid inaccuracies.
- Consider the laser level webcam technique for heightened setup precision.
Iterative Adjustment for Optimal Results
Embrace calibration as an iterative process; small incremental changes yield better results.
Document Your Process
Keep detailed records of your process for future reference and troubleshooting.
Continuous Improvement
Regularly recalibrate your CNC machine for sustained top-tier performance.
By adhering to these guidelines, you can achieve high accuracy and reliability from your CNC machine, ensuring your projects are executed with unmatched precision and quality. This approach not only enhances your current endeavors but also sets the foundation for continued excellence in the field of CNC machining.


