How to Use Heat Set Inserts in 3D Printing for Stronger Plastic Parts: A Beginner’s Guide
In the world of 3D printing, creating strong and functional parts can often be a challenge, particularly when it comes to utilizing threaded components. Heat set inserts offer a reliable solution, allowing you to reinforce threaded holes within your printed parts. This guide will walk you through the process of using heat set inserts, from design tips to troubleshooting techniques. Whether you’re a beginner or an intermediate user, you’ll learn how to streamline your 3D printing projects to achieve stronger results.
1. Introduction to Heat Set Inserts
Heat set inserts are brass components with internal threads and an external knurled surface, designed to be installed into plastic parts post-printing. They provide a robust and sturdy threaded connection, enhancing the overall durability of your printed parts.
2. Materials Needed
Before you start, gather the following materials:
- 3D printed part with appropriately sized holes for the inserts
- Heat set inserts (brass is preferred)
- Soldering iron (an adjustable temperature model is ideal)
- Optional: Threaded insert installation tip for the soldering iron (for precise insertion)
3. Designing for Heat Set Inserts
Cavity Specifications
When designing your model, create a tapered cavity that matches the dimensions of your heat set insert. The cavity should be slightly larger than the insert’s minor diameter and smaller than its major diameter, ensuring the molten plastic securely holds the insert.
Material Considerations
Select thermoplastics with higher melting points and strength, such as ABS or PETG. Avoid using flexible materials like TPU, as they typically do not provide adequate support for the inserts.
Hole Size and Depth
Ensure the hole is snug enough to fit the insert securely. For an M3 heat set insert, you might consider the following dimensions:
- Major Diameter (A): 5.31 mm
- Minor Diameter (B): 5.1 mm
- Depth (D): Approximately 3.8 mm
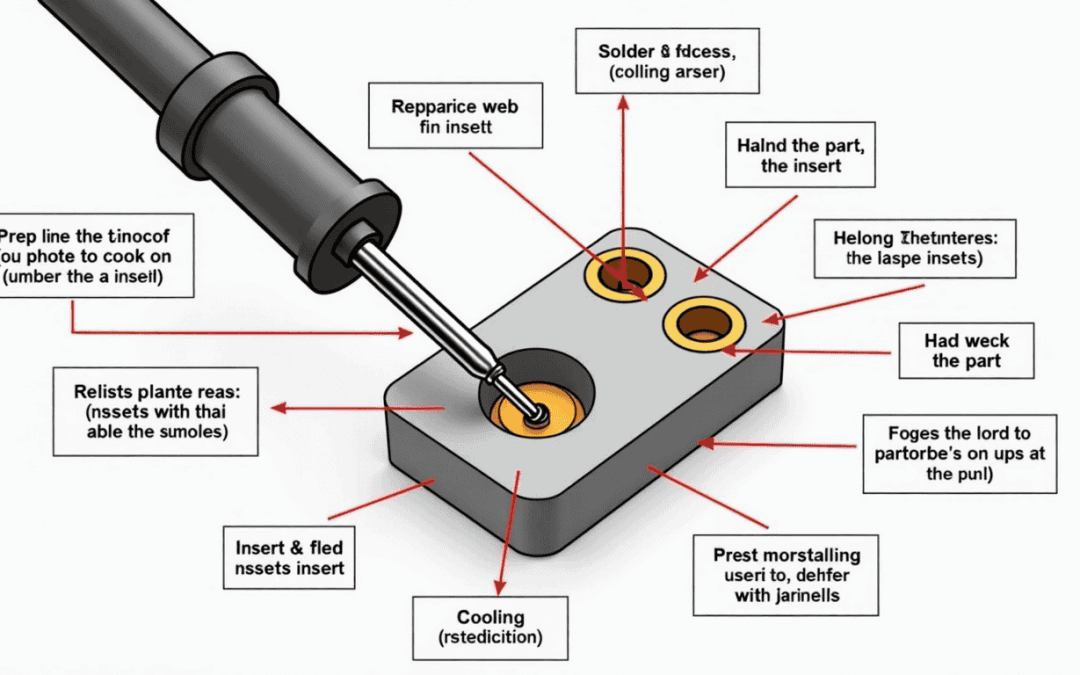
4. Heat Setting Process
Follow these steps carefully to install your heat set inserts:
- Prepare the Part and Insert: Position the insert above the corresponding cavity, ensuring it is straight and centered.
- Heat the Insert: Set your soldering iron to a temperature about 50-100°C higher than the printing temperature of your plastic. For reference:
- PLA: ~225°C
- PETG: ~245°C
- ABS: ~265°C
- Insert the Heat Set Insert: Apply gentle pressure on the insert using the soldering iron tip while keeping it perpendicular to the part. As the insert heats up, it will begin to sink into the cavity. Be patient and let it descend slowly.
- Final Positioning: Continue heating until the insert is flush with the surface of the part. Use tools like a screwdriver to gently press it if needed.
- Cooling: Allow the part to cool for several minutes. This ensures a strong bond between the insert and the plastic.
5. Troubleshooting Common Issues
Insert Not Flush with Surface
If the insert isn’t flush, try melting it about 90% of the way in before using a tool to press it the rest of the way. Hold it in place until the plastic solidifies.
Large Inserts Difficult to Insert
If larger inserts struggle to insert smoothly, ensure good heat transfer by using a higher temperature and specialized soldering tips.
Overheating the Plastic
Avoid overheating, which can damage your print. Adjust your iron’s temperature or withdraw it early if needed.
Thread Stripping
To prevent stripping, ensure the insert is fully seated and consider using stronger materials like ABS or PETG.
6. Conclusion and Best Practices
Incorporating heat set inserts into your 3D printed parts can significantly enhance durability, especially in applications requiring threaded connections. Always choose appropriate materials and take the time to design your models for optimal integration. Practice patience during the installation process to achieve the best results.
By following these guidelines, you’re well on your way to mastering heat set inserts in 3D printing. For further learning, consider exploring advanced soldering techniques or experimenting with various thermoplastics for diverse applications. Happy printing!


