Mastering Heat Set Inserts in 3D Printing: Your Ultimate Guide to Stronger Plastic Parts
Looking to take your 3D printing projects to the next level? Integrating heat set inserts can significantly enhance the durability and functionality of your designs. This comprehensive guide walks you through the essential steps of using heat set inserts effectively, with a focus on both beginners and seasoned professionals.
1. Designing for Durability: Optimizing Your Model for Heat Set Inserts
🔍 Determine the Perfect Insert Size
Choose from sizes like M2, M3, or M5, ensuring a snug fit that meets your project needs. Proper size selection is crucial for ensuring the insert holds securely without causing damage to the surrounding material.
🌀 Create the Perfect Recess
Leverage your CAD software—whether it’s Fusion 360, Tinkercad, or another powerful tool—to design a hole that matches the insert size and compensates for material expansion. For blind holes, ensure the depth is adequate for a flush fit, which enhances stability.
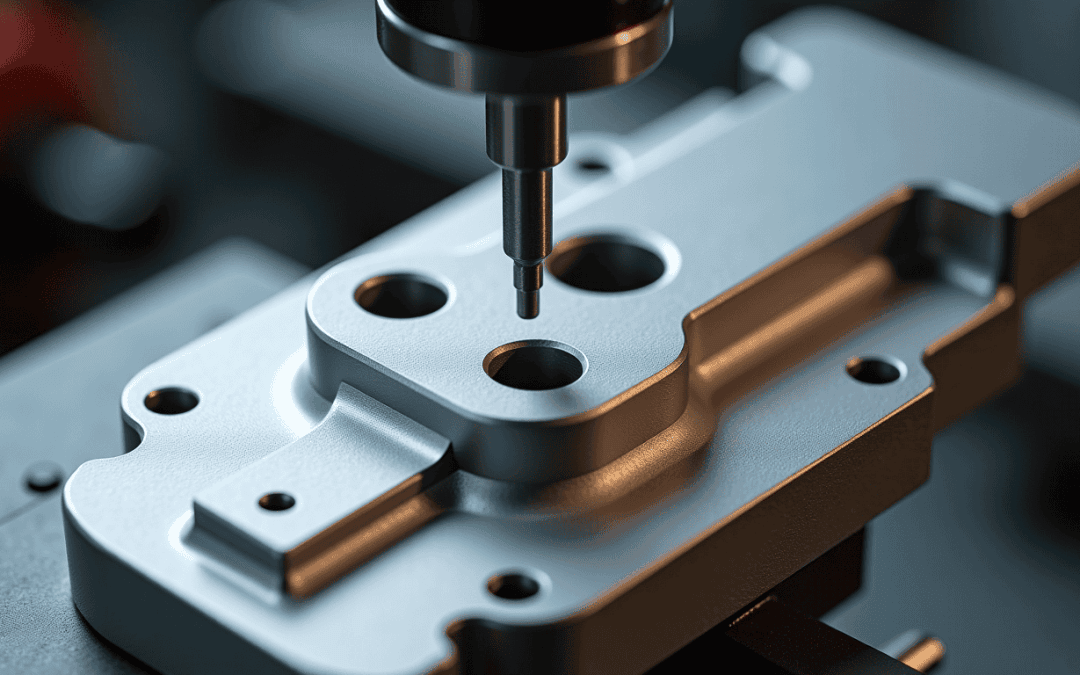
2. Printing the Model: From Filament to Finished Print
🧵 Select the Right Filament for the Job
Opt for thermoplastics like PLA, ABS, or PETG—robust enough to resist heat distortion. Avoid flexible materials like TPU that may compromise the insert’s stability.
⚙️ Fine-Tune Your Print Settings
Adjust parameters like layer height and print speed for optimal results. A 0.2mm layer height often provides a good balance for accuracy and strength.
3. Preparing and Installing Heat Set Inserts: Tools and Techniques for Success
🔥 Choose the Best Soldering Iron
Select a soldering iron with a narrow, specialized tip designed for heat transfer efficiency. Temperature control is key—set it slightly above your filament’s extrusion temperature for optimal performance.
📍 Precise Insertion Techniques
Carefully align the insert with the pre-printed hole, then apply heat using the soldering iron to soften the surrounding filament. Be cautious to prevent overheating, which can weaken the material.
4. Testing, Validation, and Comparative Analysis
🔧 Standardized Testing Techniques
Employ pull-out and torque tests to validate the insert’s strength. Consistent and precise installation techniques are essential for achieving reliable results.
⚖️ Weighing Alternatives: Heat Set Inserts vs. Other Methods
Compare with options like threaded designs or alternative inserts. Considerations for when to opt for heat set inserts include application demands and assembly frequency.
5. Practical Applications and Market Considerations
🚀 Real-World Innovations
Explore groundbreaking applications in fields from aerospace to medical devices, showcasing how heat set inserts provide durable solutions in complex engineering challenges.
💡 Future Trends and Ethical Considerations
Stay informed about emerging materials and market trends, ensuring your choice of suppliers aligns with sustainability and ethical standards.
Conclusion: Your Path to Enhanced 3D Printed Assemblies
Implementing heat set inserts can revolutionize your 3D printing projects, particularly for creating strong, reliable connections. From design considerations to installation techniques, mastering this process is a valuable step in elevating your technical capabilities.
Did you find this guide helpful? Follow us for more in-depth technology insights and make your next 3D printing project a resounding success!
By using these structured steps and insights, you’ll streamline your approach, ensuring your 3D printed designs are not only robust but also ready to meet the demands of diverse applications. Keep exploring, experimenting, and pushing the boundaries of what’s achievable with 3D printing technology.


