
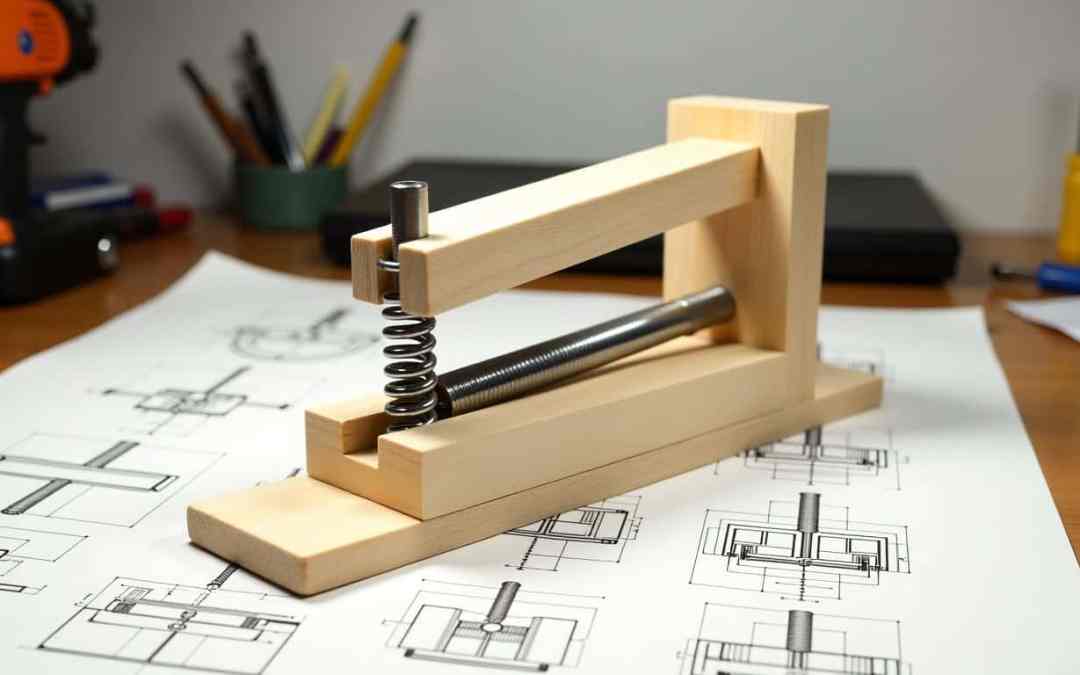
Unleashing the Power of DIY Engineering: Build Your 3D Printed Catapult with a Leaf Spring Mechanism
Introduction
Are you intrigued by the mechanics behind launching projectiles and eager to explore the realms of 3D printing? This guide will walk you through creating your very own 3D printed catapult, powered by a unique leaf spring mechanism. From understanding the design intricacies to mastering the assembly process, this deep dive will transform you into a DIY engineering aficionado.
Chapter 1: Understanding the Nuts and Bolts
Crafting a Masterpiece: Tools and Materials You Need
- Perfect Print Setup: Utilize an FDM 3D Printer for the best results, armed with PLA or the superior Metal PLA filaments.
- Design Software Toolkit: Experiment with Tinkercad or Fusion 360, or opt for pre-made design files available online.
- Assembly Arsenal: Essential items include hot glue or screws, and don’t forget your safety glasses for secure testing.
Blueprint to Success: Grasping the Design Essentials
- Sturdy Framework: The catapult’s base is pivotal for stability.
- Launch Dynamics: Master the throwing arm’s role in propelling your projectile.
- Power Packed Leaf Springs: Discover the unique energy distribution of a leaf spring system and why it outshines traditional torsion springs.
Chapter 2: Bringing Ideas to Life – Downloading and Printing
Simplified Start: Downloading 3D Print Files
Bypass the CAD complexities and directly download STL files. Ensure these files match your 3D printer’s compatibility to include necessary components like bases, arms, and springs.
Precision Printing: Creating Robust Components
Harness the full potential of your printer by optimizing settings for strength and fidelity. Use higher infill densities and precision profiles, possibly printing with special filaments like Silk and Metal PLA for enhanced durability.
Chapter 3: The Art of Assembly
Constructing the Foundation: Base and Frame
Initiate the process with the side frames, aligning and fastening the plates securely—you’re setting the stage for engineering brilliance.
Mechanizing Movement: Assembling the Throwing Arm
Ensure precise placement of the arm and pivot, aligning perfectly with the pre-designed pivot plate notches.
The Heart of the Catapult: Leaf Springs and Connectors
Effortlessly insert leaf springs, guaranteeing central placement and optimal function for maximum energy release.
Chapter 4: Testing the Waters – Performance and Optimization
Launch to Victory: Initial Testing Phase
Perform test launches and marvel as your catapult hurls projectiles consistently—tantalizing performances range from 10 to 25 meters based on scale.
Optimize for Excellence: Fine-Tuning Adjustments
Experiment with launch angles and spring tensions to unveil the hidden potential of your catapult. Aim to harness the optimal force at a 45° angle, balancing energy and precision.
Chapter 5: Pushing Boundaries and Exploring Possibilities
Design Exploration: Springs at the Forefront
Explore the strengths of leaf springs in providing unique force distribution and easing operational handling compared to torsion springs.
Material Marvels: Choosing the Right Filament
Delve into the properties of PLA and Metal PLA, understanding their interactive role in the durability and performance of your catapult.
Delicate Dynamics: Kinematics Explained
Apply mathematical models to predict trajectories, while experimenting with variables like tension, launch angle, and projectile mass.
Final Thoughts and Call to Action
From intricate design considerations to the thrill of launching projectiles, the journey of building a 3D printed catapult is as rewarding as it is educational. Your newfound engineering skills are just the beginning—stay curious, keep experimenting, and explore more!
Follow us for more technology deep dives and continue your adventure into the vast world of DIY engineering and innovation. Whether you’re a hobbyist, a student, or a curious mind, there’s always more to discover in the art of creation.


