
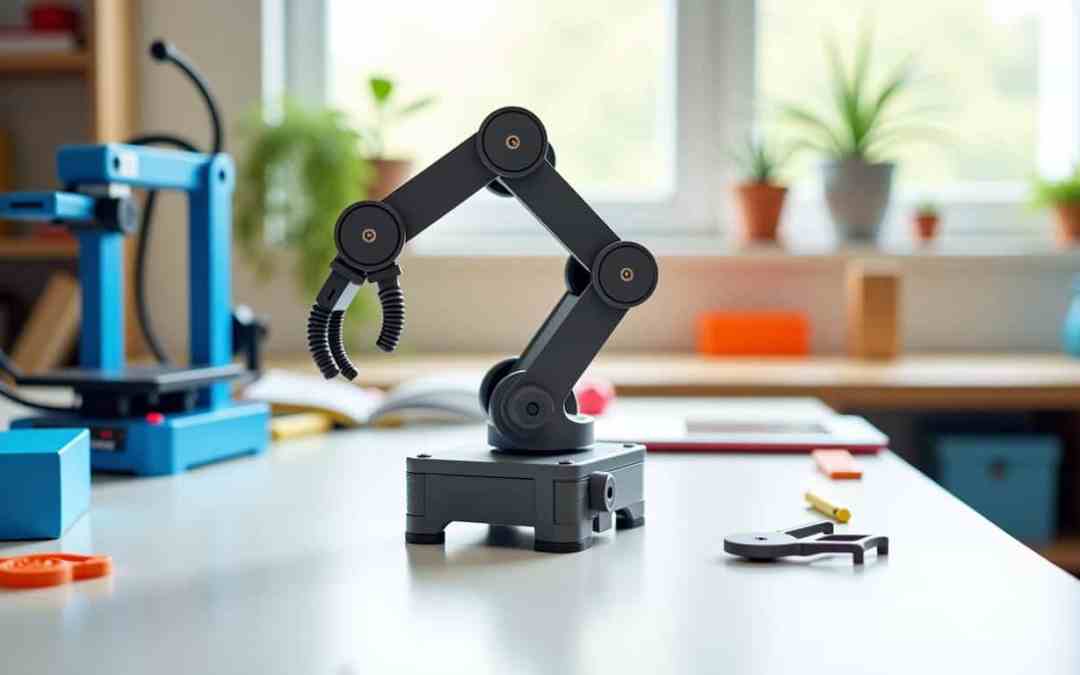
Building a DIY 3D Printed Robotic Arm: A Comprehensive Guide
Creating a robotic arm with 3D printing technology is an exciting, educational project that combines mechanics, electronics, and programming. Whether you’re venturing into robotics for a personal project or exploring its use in applications like manufacturing or healthcare, this guide will lead you through each step of the process.
Step 1: Assemble Your Arsenal – Materials and Components You Need
3D Printer and Filaments
Choose a reliable 3D printer capable of detailed and sturdy prints. Consider filament materials like PLA (easy to use and precise but less flexible) and ABS (durable and impact-resistant but needs ventilation during printing).
Servo Motors and Arduino Board
Select high-torque servo motors, such as MG996R or SG90, for effective motion. The Arduino board, like the Uno or Nano, acts as the brain of your robot.
Building Essentials
Have PLA or ABS filament, a robot gripper, power supply, and small hardware components like ball bearings, nuts, and bolts at hand.
Dive Deeper: Comparing PLA and ABS Filaments
PLA, known for its smooth finish and ease of printing, is ideal for beginners but lacks the flexibility and durability of ABS. ABS is robust and can handle more demanding applications due to its flexibility, making it perfect for parts needing shock absorption.
Step 2: Design Your Dream – Crafting the Arm Blueprint
Utilize CAD Software
For designing, tools like Fusion 360 or Solidworks allow you to create intricate models, including arm segments, servo motor mounts, and base components.
Review and Optimize
Evaluate your design for stress points and improve accuracy. Use software simulations to visualize movements and ensure efficient load distribution.
Insights: Enhancing Your CAD Design
To maximize the effectiveness of your designs, focus on minimizing stress concentrations by incorporating rounded edges and fillets. Conduct rigorous design reviews to foresee potential weak spots and rectify them before production.
Step 3: Bring Your Design to Life – 3D Printing Techniques
Export and Print
Transform your CAD designs into STL files and configure your printer for optimal settings. Use high infill for strength and adjust layer heights for precision.
Post-Processing
Enhance strength and texture by sanding, applying coatings, or using chemical processes. For load-bearing parts, consider reinforcing them with additional materials.
Step 4: The Assembly Quest – Joining Components into a Cohesive Whole
Servo Installation
Attach servo motors precisely in their mounts, ensuring secure connections. Proper alignment is key to operational accuracy.
Construct the Arm
Bolt or screw each segment, allowing for seamless pivoting at joints. Consider supports for heavier parts to maintain stability.
Assembly Tips: Screws vs. Adhesives
While screws offer easy maintenance, adhesives can improve structural integrity. Balance their use for the best outcome in robustness and reparability.
Step 5: Electrify and Control – Wiring and Programming Magic
Wire It Up
Connect servos to the Arduino using a breadboard, ensuring neat and interference-free wiring.
Coding Basics
Load your Arduino with code to control servo movements. Start with basic functions and expand to include advanced features like inverse kinematics.
Stage 6: Functional Testing – Refine and Optimize Performance
Initial Test Runs
Power up your creation and test its range of movement. Make programming tweaks to refine performance.
Advanced Features
Experiment with sensors for feedback and introduce machine learning for adaptability in new tasks.
Optimize with Machine Learning
Integrate machine learning algorithms to allow your robotic arm to analyze its performance and adjust for better efficiency and precision over time.
Step 7: Educational Enrichment and Sharing – Expanding the Community
Participate and Share
Join forums and communities, like Instructables, to both learn from others’ experiences and contribute your insights.
Workshops and Tutorials
Develop or join learning sessions focusing on robotic assembly and programming to broaden community expertise.
Practical Applications and Future Outlook
From healthcare prosthetics to manufacturing helpers, explore diverse uses for your robotic arm. Keep an eye on trends in AI and IoT, which are likely to redefine how DIY robotic arms adapt to new roles and environments.
Call to Action: Dive Deeper into Robotics
Embark on your robotic arm journey today! Share your progress, ask questions, and discuss projects in online communities. Explore advanced tutorials and consider future technology enhancements in your designs.
By carefully following this comprehensive guide, you will not only craft a functional robotic arm but also gain valuable insights into robotics, 3D printing, and engineering principles. Keep iterating on your projects and fuel your passion with the endless possibilities within the world of robotics.


